 |
BlitzKrieg®
QuickGuide on Building Houses
in 4 steps
by kaoz / November 2008
Index |
|||||||||||
| 1. Start | |||||||||||
| 2. Other Shapes | |||||||||||
| 3. Resource Editor | |||||||||||
| 4. Finally | |||||||||||
1. Start |
|||||||||||
At first, one should get the Resource
Kit with all original TGA-files and
place it upon the harddrive. Don't be surprised that might take a
lot of drive-space!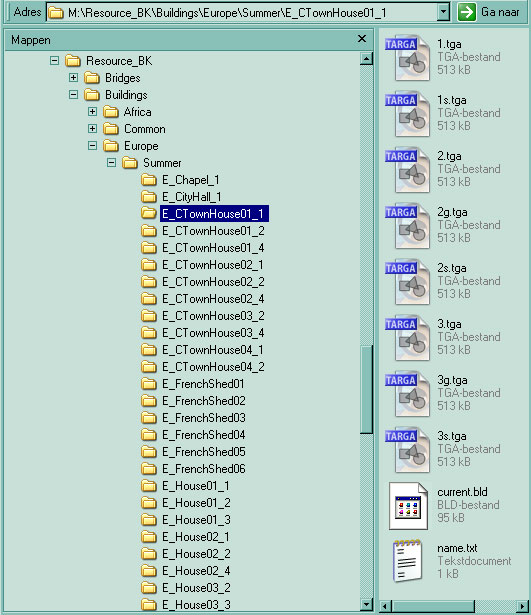
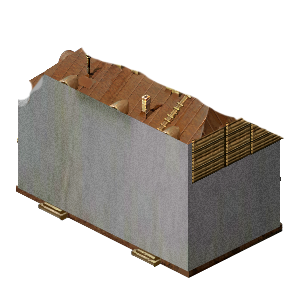
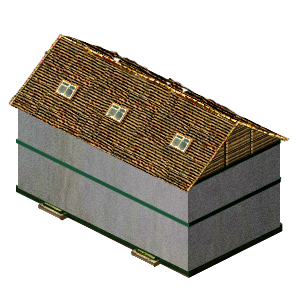
Next, the TGA-files can be opened in a photo-editing program like Photoshop or The Gimp, that can work with multiple layers. Before you start, it is best to copy a complete folder of a building and rename it. From a folder, open 1.tga to see the first state of the building. The following picture shows the practical use of a grid layer. Also notice the different layers that contain parts of a building. 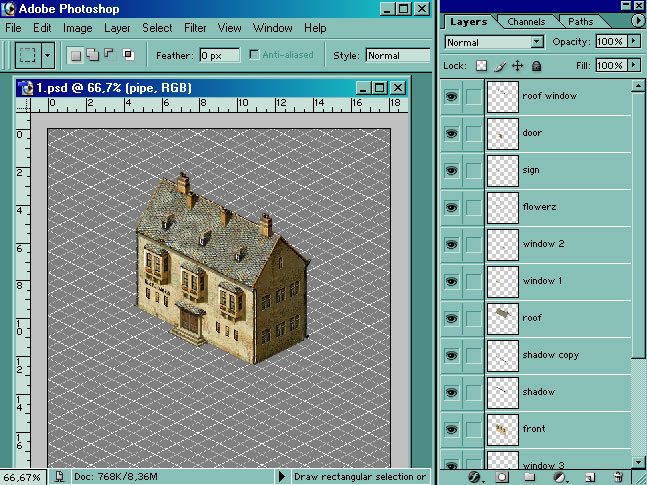 The following pictures are a small example of how you can select parts and copy them to create a new building: 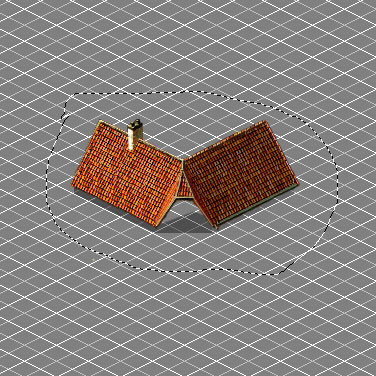
A modified roof. 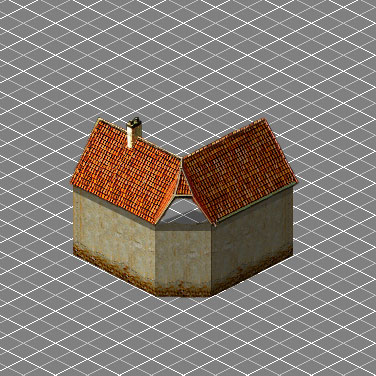
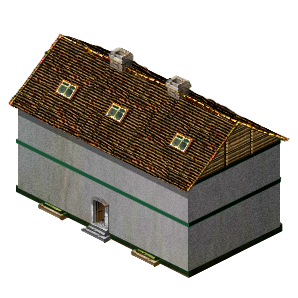
With a modified wall underneath. 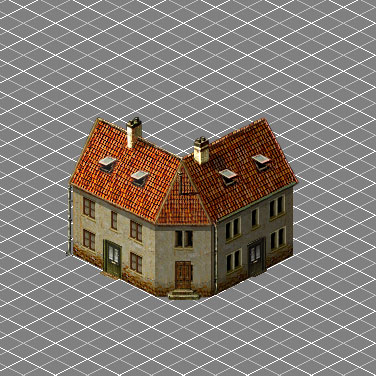
And windows, doors, rainpipes and chimneys added. Very important in adding finishing touches are shadows. In BK1, the daylight is always falling in from the left. Shadows can be made by creating a black part on a layer and make it somewhat transparent. 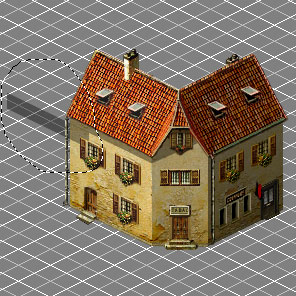
Unfortunately, this tutorial cannot be a guide to Photoshop. One last advice, however, is using a mask, to cut out some specific parts: 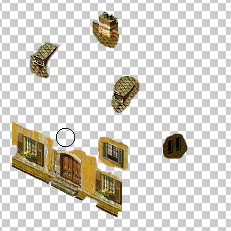
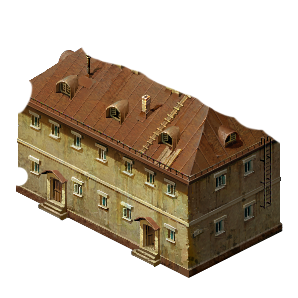
It should be noted that when working in a 2D graphics package, final rendered image dimensions should be in multiples of 2 pixels: 2 x 2 2 x 4 8 x 8 64 x 64 128 x 256 384 x 768 512 x 512 etc. Pixels per cm: 28 Pixel depth/colours: 24/16 Million ( ie. 16.7 million colours (24 Bits Per pixel) RGB colour). Number of layers = 1 Number of Alphas = 1 (Black RGB 0,0,0 being made translucent) File type .TGA (Truevision Targa) Uncompressed The following pictures show one of my first buildings and it looks a bit strange because i used a few patterns from real photographs, but it's a good example of how you can start from multiple sources:
|
|||||||||||
| Return to index | |||||||||||
2. Other states of the building |
|||||||||||
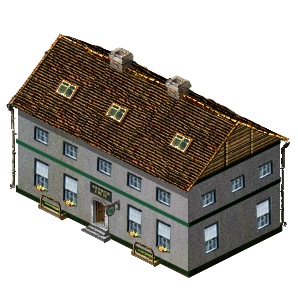
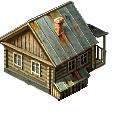
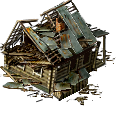
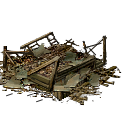
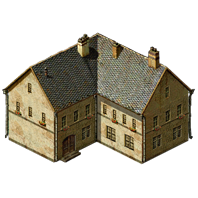
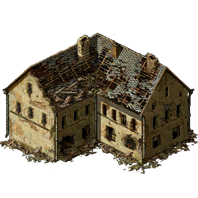
| After having created a nice little building, it is time to go through the other states of the building: | |||||||||||
|
|||||||||||
| So next to a normal, damaged
and ruined state, there is also ground
and shadow files for the building. In the various states, the ground and shadow files will appear to add more realism. Make sure these are set in the correct position when they appear underneath the house in the game. The best way to achieve this, is by copying the shadow upon a different layer in the 1.tga: 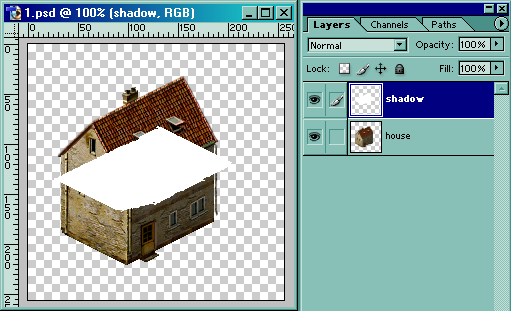 Next, you switch the layer order and put the shadow in place underneath the house: 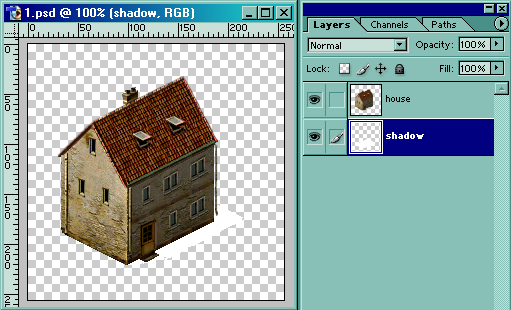
Then, delete the house layer and save the file as 1s.tga: 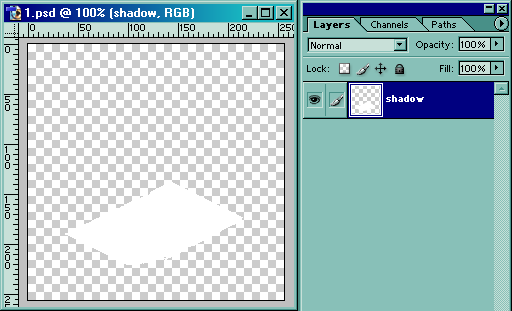 For the ground files, you could do the same process. In case of winter buildings, there would also be such files needed as 1w.tga, 1wg.tga, 1ws.tga,...  Building new houses is fun, however, the damaged and ruined states can take up triple the time. Work yourself through all these files, a lot of sweat and patience will be needed:
At the following screenshot, notice how the ground and shadow files look in the game: 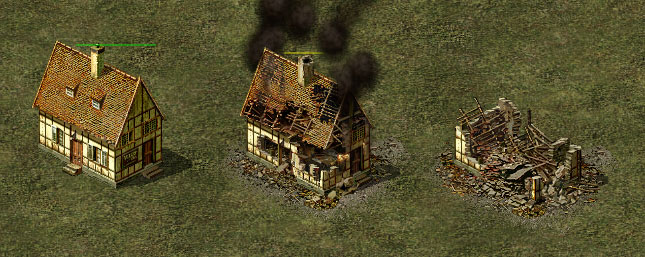
|
|||||||||||
| The Building Modding Tutorial from Tangram
gives another nice example how to create a building: Building and Object Modding Tutorial |
|||||||||||
| Return to index | |||||||||||
3. Building it all together with the Resource Editor |
|||||||||||
| When finally, all the TGA-files
are ready, it is time to open the ResEditor
and load the current.bld-file from the same
folder where your TGA-files are located.
This current.bld-file contains all necessary
data of the building. Once you have a building loaded in the ResEditor, you should see the following: 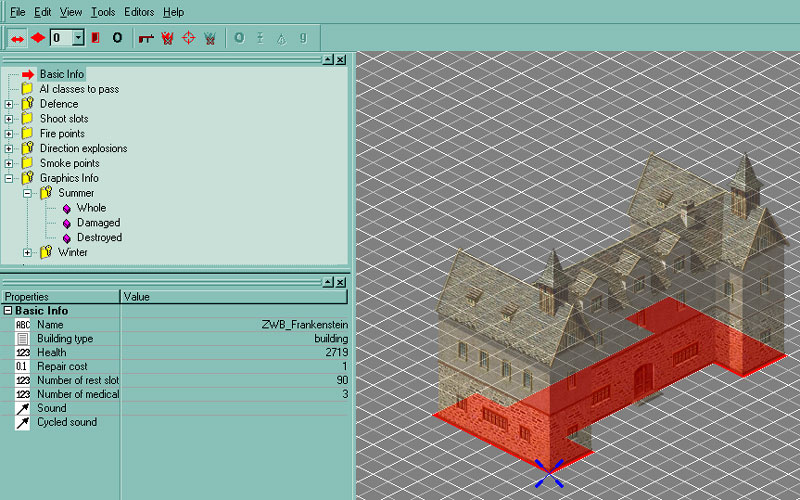 A few terms need to be understood: In the ResEditor, on top you have the Main Menu. Underneath the main menu, you get a Toolbar. Next, the upper window on the left, is called the Project Tree. The below window that shows properties and values, is named the Object Inspector. By default, when the program opens, the Object Inspector will show the Basic Info. First, you can give the building a Name. This is not the same name shown in the game when moving your mousepointer over a house. I have the habit to give it the same name as my folder name, but this is no obligation. The Building Type can be changed to building/dot/main warehouse/temporary warehouse, which i hope i don't have to explain. Next, you can set the building's Health and Repair Cost. For their values, you should compare settings from bunkers and other buildings to keep these realistic. The Number of rest slots sets the maximum of men that can enter the building. I would advise to use decimals here, because most of the squads exsist of ten soldiers. If you for example, would set 15 and put two units in it, there's 5 soldiers standing outside... you could set 5 and therefor always have 4 or 5 guards next to the house... The Number of medical slots sets the maximum of soldiers getting healed at the same time. Setting 0 will result in no healing. Finally, you can set the Sound or Cycled sound for the building. You should only set this when having an important building like a church. If you would add a sound to every building, there would be an orchestra playing when moving your mousepointer over a village. After setting the basic info, let's go to the first part of the Toolbar:
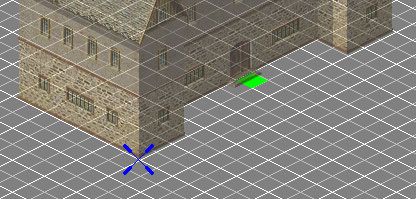
So first, with the arrow, place the building as correct as possible upon the grid. Second, draw red squares untherneath it to define its base. Third, select the amount of tranparancy from the list (7 will give full transparancy) and draw yellow squares underneath the building (mostly the same as the base tiles). Then set the entrance point and zero point. Now let's take a look on the rest of the Toolbar: As you might notice, there's two more parts of the Toolbar. Depending on the choice of the first 4 icons, some of the other icons become available. The first 4 icons mean the following:
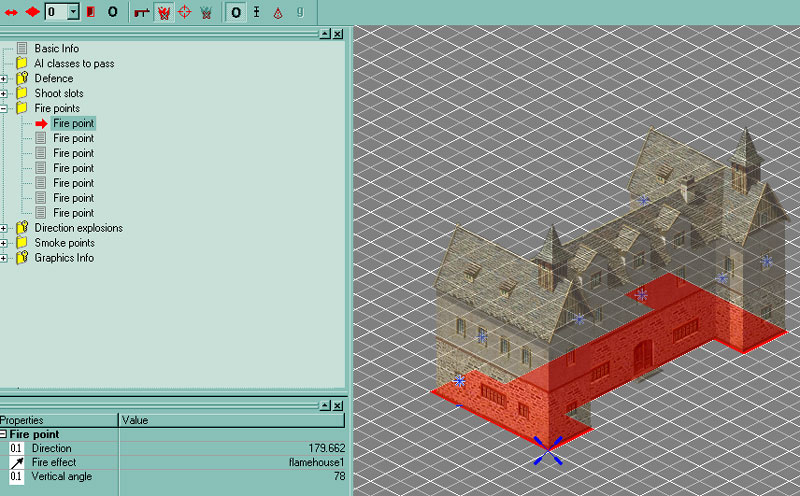
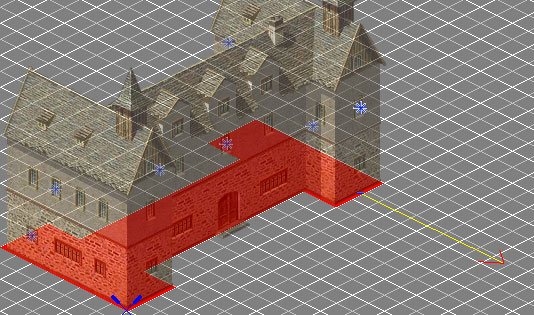
At the same time you have selected one of the specific 4 icons, you will have the ability to add or delete certain points. In this case, fire points. If you would click on the house, a new fire point gets added. That is if you are not selecting an exsisting one. As you can see, the 4 Toolbar icons are also represented in the Project Tree. When opening the corresponding folder, you can see the 7 fire points in this example. Again, each point will have its settings in the Object Inspector. So when having one fire point selected, we get to use 3 more icons from the Toolbar:
There's one fire point selected, the tiny blue line, vertically under the point should be set at the base of the building and the direction is also set so that in this case, the fire would spawn at the window to the corresponding direction. All these settings also have to be made for shoot points, shell effects and smoke points. For shoot points, i suggest you place them on windows and doors. Better do the back of the building as well, so the building has also shooting ranges there. Concerning the fire points, they will spawn when the building turns to the damaged state. Therefor, it's not always easy to place them correct as i quite often fail to do and show a bit strange looking in the game... For the direction explosion points and smoke points, the last icon of the Toolbar becomes available. When clicking this, the editor will generate points, which is a great tool. The direction explosion points should only have 5 points being Front Left/Front Right/Back Left/Back right/Top Center. The smoke points can be added or deleted. I usualy only delete some, to not exaggerate and move some to the corners of the building and change their direction slightly. At this point, i should give a small warning when editing all these points. When, in the Toolbar you would have selected shootpoints and start selecting fire points in the Project Tree, it can occur that the editor starts showing all points made, which can be confusing. Therefor, be aware when editing these setting, that the Toolbar icon is refering to the correct folder in the Project Tree with the points you are working on. Now there's two more things left in the Project Tree window: 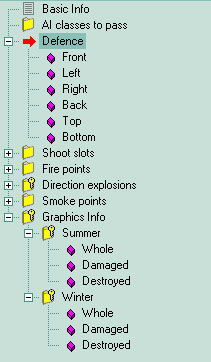 In the Defence folder, you can set for each side of the building Min Armor/Max Armor/Silhouette. I slightly change the armor in the Object Inspector when a building needs to be weaker or stronger. So far, i haven't changed its silhouette. The Graphics Info folder show the corresponding links to the TGA-files for the Whole/Damaged/Destroyed states. If you came this far, the last step to take in the ResEditor is to export the whole building. 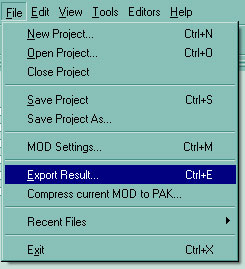 In this process, the program should save a new folder in the Run/Mods/Mymod/Data/Buildings/ containing mostly DDS-files, SAN-files and one xml-file. You could however, select another path. There could be one more icon and one name file still added, which will be explained in the next, final step. |
|||||||||||
| Return to index | |||||||||||
4. Adding the building to the MapEditor and the game. |
|||||||||||
| So once the building is exported, it still needs to
be made useable. There's two possibilities here: You could zip the files to a PAK-file and put this in the Run/Data folder. Or you make it part of a Mod, located in the Mods folder. In both cases, you will need to add a reference in a ModObjects.xml-file. In the following example, i have a hypothetical building named "MyHouse" in the Mods folder called "MyMod": 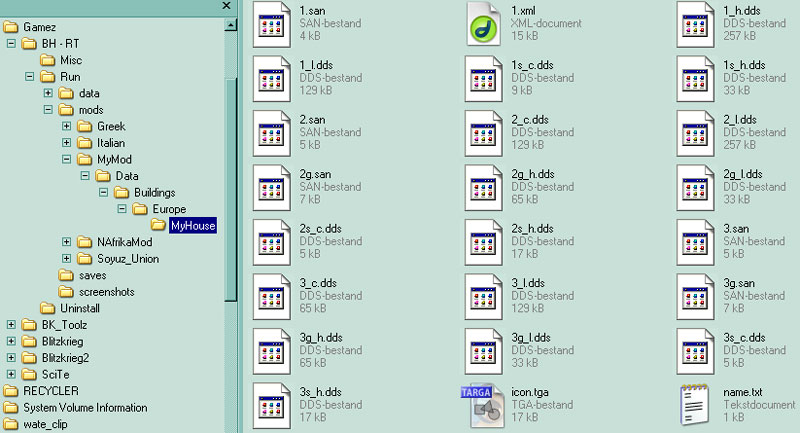 In this MyHouse folder you can see the exported SAN and DDS files. Next, there's a 1.xml that contains the most important settings. You could still pitch some settings there afterwards, but be careful with this, one little mistake and the editor might crash. There's also a icon.tga and name.txt. The icon.tga file should be 64x64 pixels and will represent the icon of the unit in the MapEditor. The name.txt file contains the name that will show up when moving the mousepointer over the building in the game, f.e. Two Story House. Now, one last important matter, is that you have or make a modobjects.xml in the MyMod/Data folder. 
In this modobjects.xml file, the following lines have to be included: <item> <name>My New House</name> <type>sprite</type> <game_type>building</game_type> <path>Buildings\Europe\MyHouse</path> </item> Unfortunately, i cannot go in detail here on how to make a mod or explaining xml-files because that should be another tutorial being written by someone else. However, learn this from other mods, just as i had to... Anyway, after all these steps, you should have your building available if you select the MyMod-mod in the MapEditor. At this point, if you would now zip the MyMod folder into a MyMod.zip and change the extension into MyMod.pak, you could place this in the Run/Data folder. You could also use: 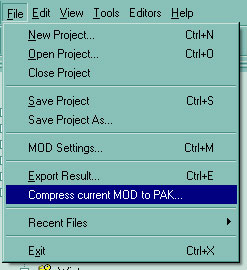 |
|||||||||||
| Return to index | |||||||||||